
Pita (Greek Pocketless Flatbread)
Course: Bread, SidesCuisine: Greek, MediterraneanDifficulty: Easy8
servings15
minutes15
minutes200
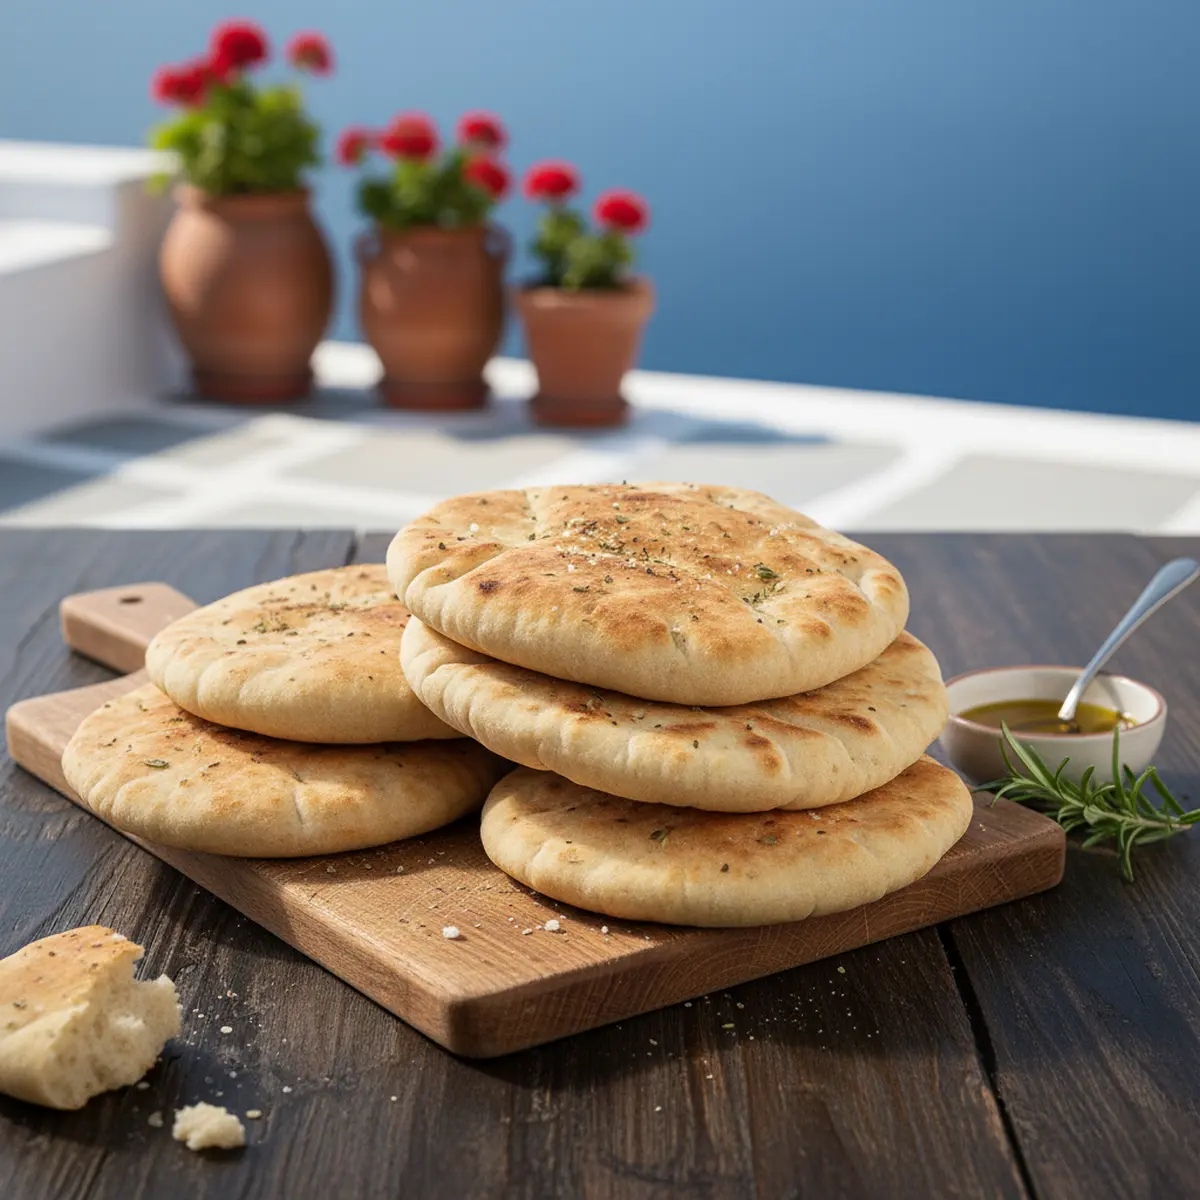
kcalGreek pita is a soft, pocketless flatbread made from a simple dough of flour, yeast, water, and olive oil (often with a touch of yogurt or milk). These homemade rounds bake up warm and pillowy, perfect for wraps, dips, or any Mediterranean dish. Each pita puffs slightly on the hot skillet, creating a tender interior. Ready in about 30 minutes, they pair beautifully with grilled meats like souvlaki or spreads like tzatziki and hummus. Naturally vegan (unless dairy is added), this pita brings an authentic, fresh-from-the-oven taste to every meal.
Ingredients
3 cups (360 g) all-purpose flour, plus extra for dusting – forms the dough. (Substitute whole wheat for a heartier bread.)
1 packet (7 g) active dry yeast – provides leavening.
1 tablespoon sugar – feeds the yeast and gives a slightly sweet note.
1 teaspoon salt – balances flavor.
3/4 cup warm water (about 110°F/43°C) – activates the yeast; adjust as needed for dough consistency.
1/4 cup warm milk or plain yogurt (optional) – makes the pita softer and richer (omit for vegan bread).
2 tablespoons extra-virgin olive oil – adds moistness and flavor.
Directions
Mix dry ingredients: In a bowl, combine the flour, yeast, sugar, and salt. Stir in the warm water (and milk or yogurt, if using) and olive oil until a shaggy dough forms.
Knead the dough: Turn it onto a floured surface and knead until smooth and elastic, about 8–10 minutes. (Time: ~10 min)
First rise: Place the dough in a lightly oiled bowl, cover with a clean towel, and let it rise in a warm spot until doubled in size, about 1 hour. (Time: 1 hr)
Shape the pitas: Punch down the dough and divide it into 8 equal pieces. Roll each into a ball and let them rest under a towel for about 10 minutes.
Roll out: On a floured surface, roll each dough ball into a thin circle (about 1/8 inch thick).
Cook: Heat a dry skillet or griddle over medium-high heat. Cook each pita for 1–2 minutes per side, until puffed and lightly browned in spots. Stack the cooked pitas and cover with a clean towel to keep them warm and soft.
Serve: Enjoy the pitas warm or at room temperature. They’re best eaten fresh, but can be briefly reheated in a hot oven or on a skillet if needed.
Tips, Troubleshooting & Variations
- Serving Suggestions & Pairings: Use this pita for wraps, gyros, or as a base for pizza. It’s ideal for scooping dips like hummus or tzatziki. Brush warm pitas with olive oil and sprinkle with herbs, sesame seeds, or garlic for extra flavor. Serve fresh or lightly toasted.
- Storage & Reheating: Store cooled pitas in an airtight bag at room temperature for 1–2 days. For longer storage, freeze them in a zip-top bag for up to a month. To reheat, wrap in foil and warm in a 180°C (350°F) oven, or microwave dampened in a towel for 15–20 seconds to revive softness.
- Variations & Substitutions: Whole wheat: Substitute half (or all) flour with whole-wheat for a nuttier flavor. • Flavor boosters: Mix chopped rosemary, za’atar, or minced garlic into the dough for herbed pitas. • Quick mix: Use self-rising flour and skip yeast for an ultra-fast version (results more biscuit-like). • Liquid swap: Replace water with coconut water or beer for different taste profiles.
- Chef’s Tips: Use lukewarm water (about 110°F/43°C) to activate the yeast without killing it. 2. Knead until the dough feels elastic and not sticky; a well-developed dough will puff better. 3. A very hot pan is key: if the skillet isn’t hot enough, the pita won’t puff. 4. Let the rolled-out dough rest briefly before cooking; this relaxes the gluten and helps even puffing.
- Optional Add-Ons: Make-ahead: You can refrigerate the dough after the first rise and bake pitas the next day (bring to room temp first). • Shopping list: Stock up on extra yeast and extra-virgin olive oil. Keep herbs like oregano or garlic powder on hand for seasoning.
- Equipment Needed - Mixing bowl, Chef’s knife and cutting board, Measuring cups and spoons, Skillet or griddle pan, Rolling pin (or a smooth bottle), Kitchen towels (for covering dough and pitas), Serving plate or basket.